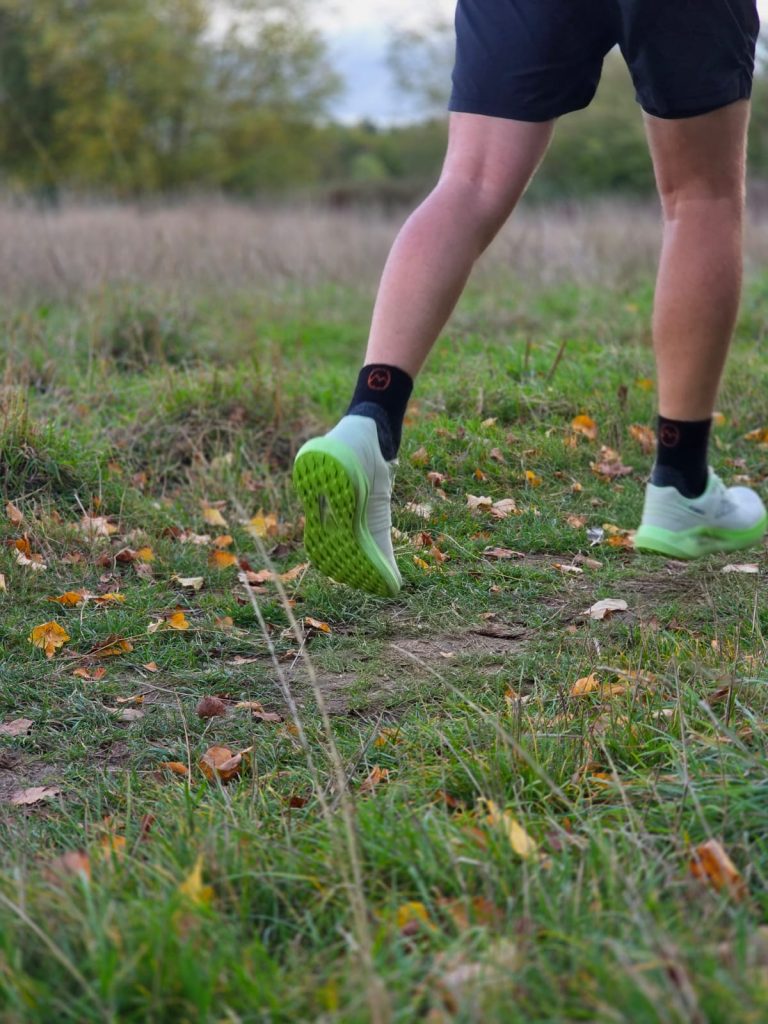

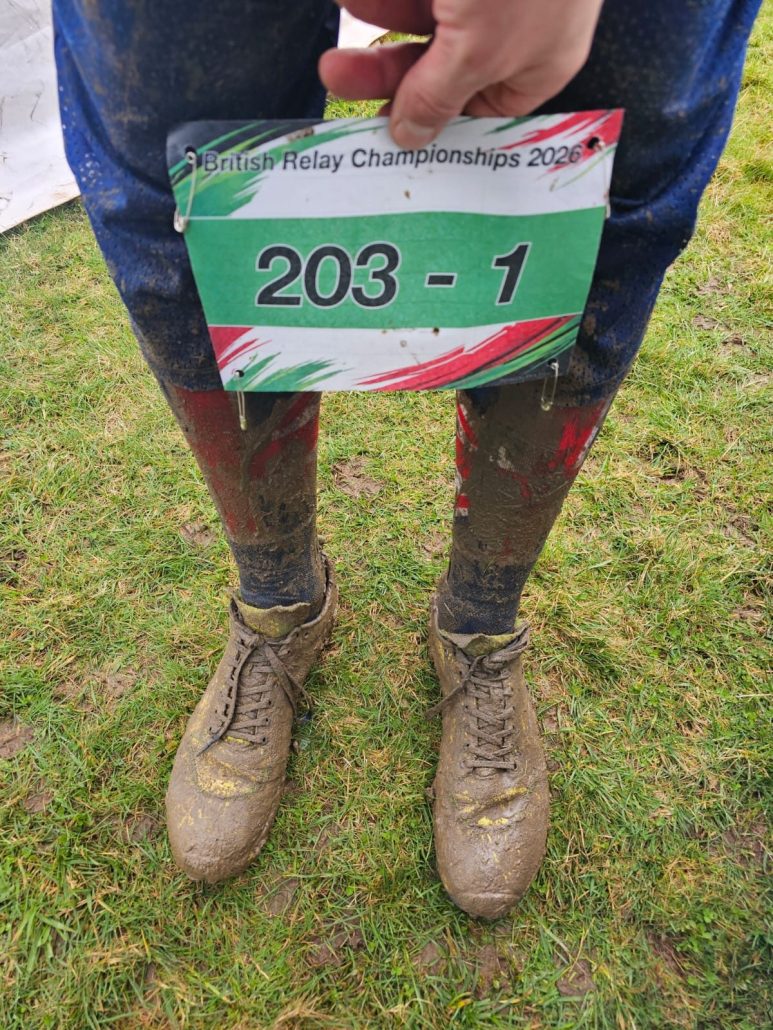
The run is finished. What happens to your shoes?
You get home tired. The kit comes out of the bag, you head for the shower, and the shoes stay in the bag until the next event. I get it. After a hard run, cleaning shoes is the last thing you want to do.
Mud and grit left on your shoes can contribute to wear. Cleaning muddy shoes helps keep the upper flexible, while taking them out of a damp bag gives them a chance to dry. Make it part of unpacking, the same way you put your SI card and compass away.
Orienteering shoes and trail running shoes pick up the same mud, so the same routine works for both.
The short answer: take the insoles out, brush off the mud, rinse the shoes under cold or lukewarm water and leave them to dry slowly at room temperature. No washing machine, and keep them away from radiators and tumble dryers.
Keep a simple cleaning kit ready
You don’t need anything special. A soft brush, a tap or a bucket of cold water, a cloth, and one spot where the shoes can dry. An old toothbrush is good for the small gaps. Leave the hard brush in the shed, as it can damage the upper. For laces, insoles and other bits, see our shoe care accessories.
Your after-run shoe-cleaning routine
Do this as soon as you can. Mud comes off much more easily while it’s still fresh.
- Take the insoles out. The shoes drain and dry quicker without them. If the insoles need a wash, do it separately.
- Loosen the laces, or take them out. That lets you reach the mud on the tongue and around the eyelets.
- Knock the soles together and tip the shoes upside down. Lumps of mud, stones and bits of twig drop out easily this way.
- Brush off the loose mud. Use a soft brush on loose or caked mud. Don’t scrub the upper hard to shift stubborn patches; keep going gently while you rinse.
- Rinse under cold or lukewarm running water while you brush. Never hot. Heat can damage the glue that holds the shoe together.
- Turn them over and check the soles. More on that below.
- Set the shoes, insoles and laces out to dry. Again, more on that below.
Plain water does most of the job. Makers don’t all agree on soap, so check what yours says. If you do use any, keep it mild, use very little and rinse every trace out.
Pay attention to the soles and studs
Mud packs in between the lugs, and around the studs if your shoes have metal ones. Work it out with the brush while the water runs. A clogged sole can’t grip the way it should, so it’s worth the extra minute.
The sole is clean now, which makes it the best moment to look at it. Are the lugs rounded off? Are the studs worn down or missing? Has the grip started to feel less reliable? You often don’t notice grip fading until the one race where you suddenly start slipping. If a metal stud is missing, ask the retailer or manufacturer whether repair is possible for your particular model.
Set them up to dry
Drying matters as much as washing. Leave the shoes at room temperature in a well-ventilated place, with the tongues pulled forward and the insoles drying separately. You can loosely stuff them with newspaper to absorb moisture, replacing it when wet. Allow everything to dry fully before putting the shoes back together.
Heat. Radiators, fires, tumble dryers and hot summer sun can weaken the glue and change the shape of the shoe. Slow and cool is better.
The washing machine. The heat, detergent and rough spin can damage the shoe or shorten its life, and some makers say it voids the warranty. A few models are made to be machine washable, so check yours rather than assuming.
Does every run need a full wash?
No. There are two different jobs here. After every run, take the insoles out, knock off the loose dirt and leave the shoes somewhere with air. That takes a minute. The full clean is for when the shoes are properly muddy or visibly dirty.
So check and care after every run, and clean according to the conditions. After a dry, dusty run the quick check may be all you need. After a wet day in the forest, do the full routine above.
Airing the shoes out after every run is usually enough to keep smells under control, too. If you run often, rotating two pairs gives each pair more time to dry between outings.
Make it part of getting home
The routine only works if it’s easy. Keep the brush by the tap. Unpack the shoes first, before the rest of the kit. Have the drying spot ready, with newspaper to hand. If the event provides a shoe-washing point, rinse off the worst of the mud before you get in the car.
Never leave wet shoes in a closed plastic bag. They need air.
When it’s time for a new pair, have a look at our orienteering shoes and trail running shoes, or read our guide on how to choose orienteering shoes.
Frequently asked questions
Can I wash orienteering or trail running shoes in a washing machine?
Most manufacturers advise against it. The heat, detergent and spinning can damage the glue and materials, and some say it voids the warranty. Hand washing is safer. A few models are made to be machine washable, so check the maker’s instructions for yours.
How often should I clean my trail running or orienteering shoes?
Check and air them after every run. Give them a full clean when they’re muddy or properly dirty.
Can I dry my running shoes on a radiator?
No. Heat can weaken the glue and change the shape of the shoe. Dry them at room temperature, away from direct heat and hot sun, with the insoles out.
How do I get the smell out of my running shoes?
Wash your running socks after every run, remove and clean the insoles according to their care instructions, and let everything dry fully. If smells persist, check your shoe manufacturer’s advice before using a deodoriser or home treatment.